
Mastering the Router Table: A Craftsman's Guide
Hey there, woodworking enthusiasts! At Shivers Custom Woodwork, our passion for craftsmanship drives everything we do. One of our secret weapons in the workshop is the trusty router table. Whether you're a seasoned pro or just starting your woodworking journey, understanding how a router table works can make a world of difference in your projects.
What is a Router Table?
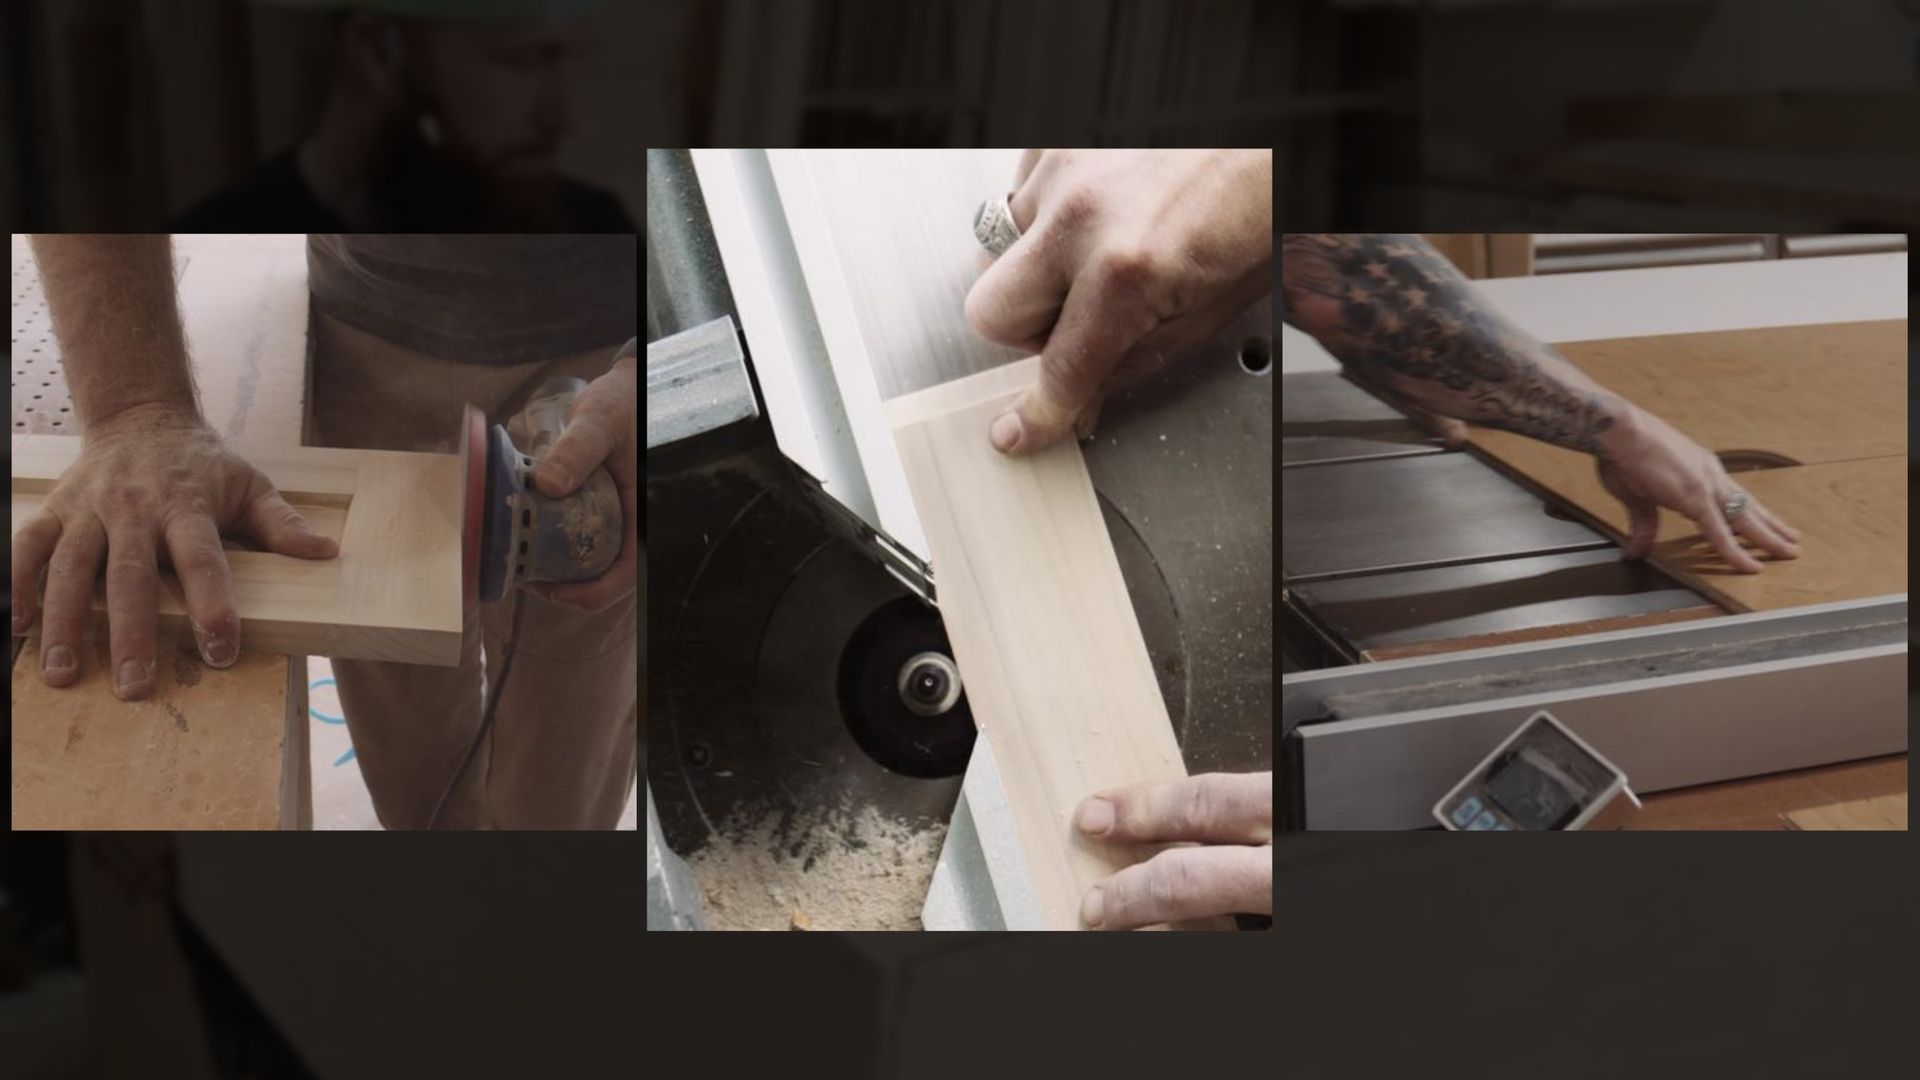
In simple terms, a router table is a game-changer. It’s a stationary tool that lets us use a handheld router more effectively. By mounting the router upside down on the table, with the bit sticking out through an opening, we gain better control and stability. This setup helps us achieve those precise cuts, intricate designs, and smooth edges that Shivers Custom Woodwork is known for.
Key Components of a Router Table
1. Tabletop: The flat surface where all the magic happens. It’s usually made of durable materials like MDF or phenolic resin to handle all the action.
2. Router Base Plate: This is where the router gets mounted. It’s got to be sturdy and perfectly aligned to ensure the router bit is right where it needs to be.
3. Fence: Think of this as your guide. It helps direct the wood through the router bit and can be adjusted for different widths and angles.
4. Router Bit: The star of the show! There are all sorts of bits for different tasks—straight bits, round-over bits, chamfer bits—you name it.
5. Feather boards: These are your safety buddies. They hold the wood against the fence and tabletop, preventing kickback and keeping everything steady.
6. Dust Collection Port: This keeps your workspace clean by connecting to a vacuum system to suck up all the sawdust.
How to Use a Router Table
1. Setup: Start by mounting your router securely to the base plate and installing the bit properly. Adjust the bit height so it sticks out the right amount through the tabletop.
2. Adjust the Fence: Position the fence parallel to the bit, and set it at the desired distance from the bit. Lock it in place to avoid any unwanted movement.
3. Safety First: Always wear safety goggles and hearing protection. Use featherboards to hold the wood securely. Keep your hands clear of the bit and use push sticks if needed.
4. Feed the Workpiece: With the router turned on, gently feed the wood into the bit, moving it from right to left. Keep a steady, even pressure to get a smooth cut. For intricate designs, go slow to avoid any tear-out and ensure precision.
5. Multiple Passes: For deeper cuts, make multiple passes, adjusting the bit height or the fence slightly each time. This helps avoid overloading the router and ensures a cleaner finish.
Tips for Optimal Results
Bit Selection: Pick the right router bit for your project. Use a straight bit for grooves and dadoes, a round-over bit for smooth edges, and a chamfer bit for angled cuts.
- Test Cuts: Always do a test cut on a scrap piece of wood to make sure your settings are spot on before working on your actual project.
- Maintenance: Keep your router table, bits, and dust collection system clean for optimal performance and longevity.
Conclusion
Getting the hang of a router table can really open up a world of possibilities for your woodworking projects. At Shivers Custom Woodwork, we use this versatile tool to create stunning, precise pieces for our clients. By understanding its components and operation, you can also harness the power of the router table to take your woodworking skills to the next level.
Thanks for stopping by our blog! If you have any questions or need custom woodworking, feel free to reach out. We’re here to help.
Visit us at 5120 Franz Road #100, Katy, TX 77493, or give us a call at 281-644-9205.
Happy woodworking!